New Main Cabin Deadlights (fixed portlights)Didn't get enough pictures to do a step by step of the process, but other similar projects can be found elsewhere online.
One thing that may be a little different (and a somewhat odd way of doing it I think) on Shang is how the deadlights were previously done. I'm not sure if it was a carry-over from the original install method or some previous owner solution.
Here's the before pics:
[OHH BTW, the rotation exif data in the jpg files aren't being read here for some reason that I have yet to debug and fix. - clicking through to view full size appears to apply the correct rotation though... for users with permissions to access the files... Sorry random unauthenticated public people, you'll just have to deal with some upsidedown and sideways pics til I fix the issue.]
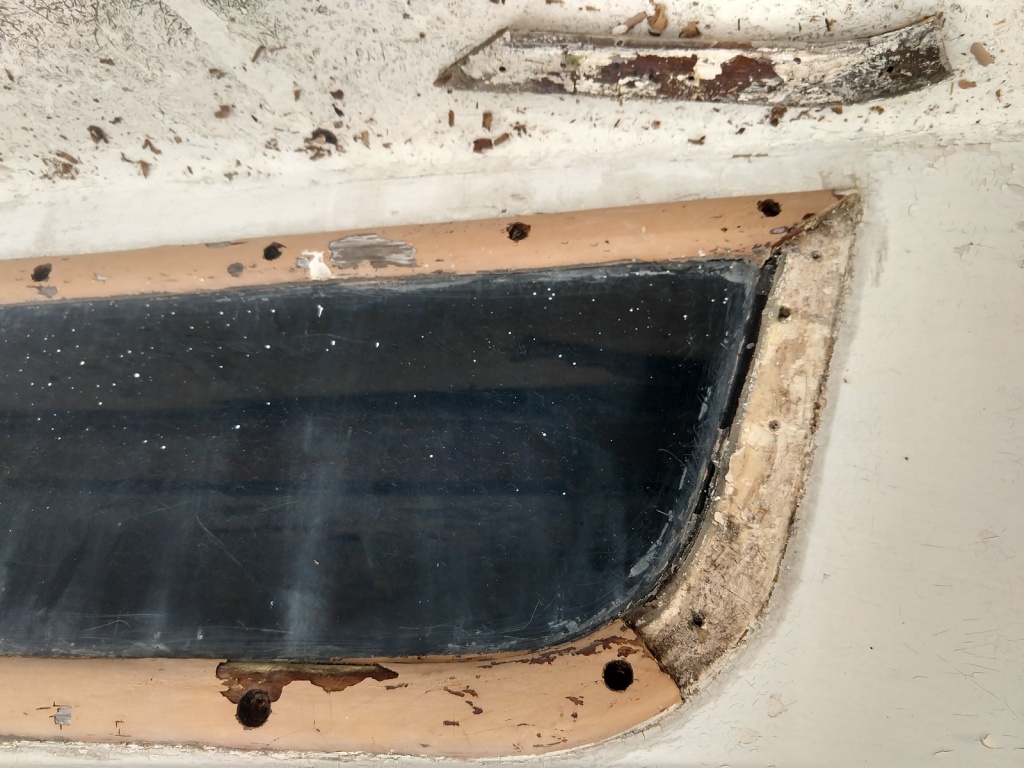
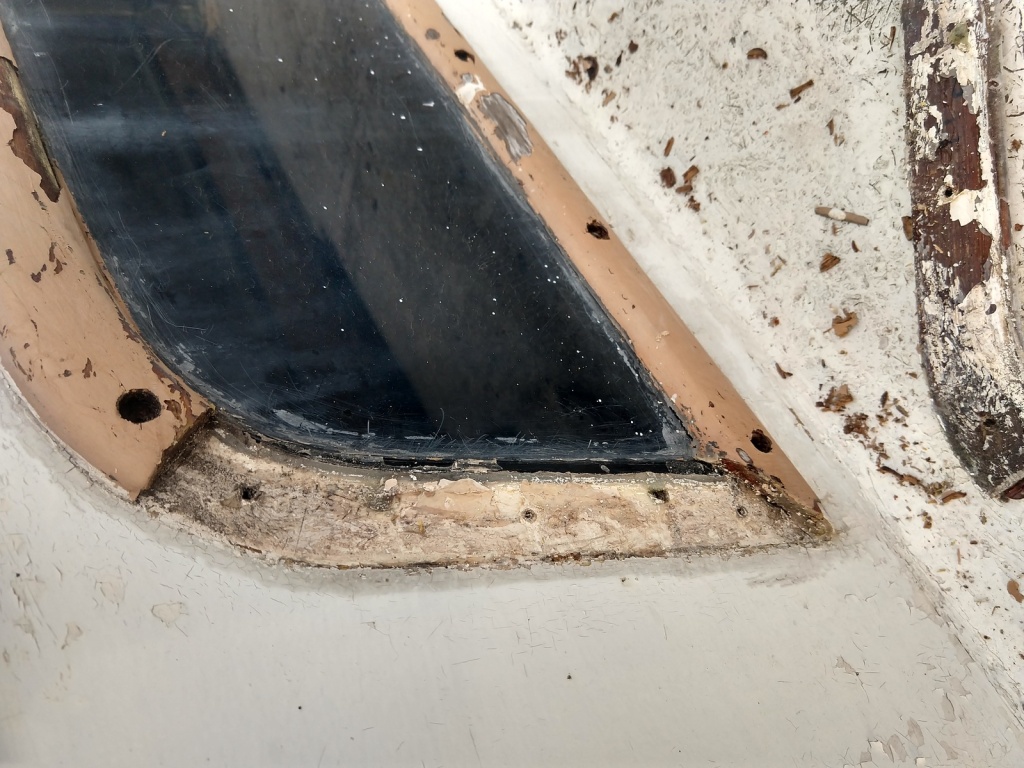
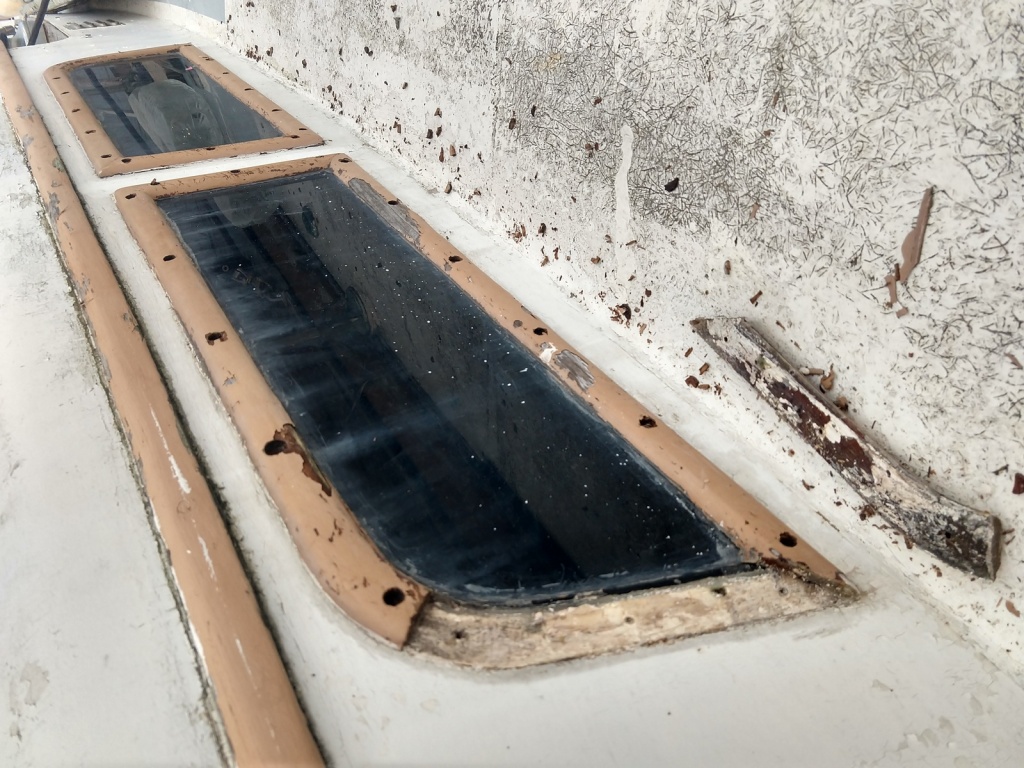
There was an interior wood frame, screwed from the outside, slightly overlapping the port opening. On the outside was the teak trim (painted) as seen in the photos after I removed the bungs to take out the screws holding it in place.
The plexi panel, ~3/16-1/4" a bit less than the thickness of the cabintop sidewall (~5/16" solid fiberglass) set into the port hole cut in the fiberglass. Sandwiched between the interior and exterior frames.
It's not completely clear in the photos, but the only thing keeping water out was a mess of clear silicone caulk. 🤬 Which it failed at doing who knows how long ago. The leakage was certainly noticable in heavy or extended rains.
There may be a couple legitimate uses (in the galley or head maybe?) for typical clear silicone caulk on a boat - this (and most others I've seen) is not one of them.
Yeah, the Dowsil 795 used on the new deadlights is a silicone, but it is a structural glazing sealant. It's commonly used to seal/hold skyscraper windows in place.
After scraping as much as possible, the only way of removing the remaining film of old silicone (without resorting to targeted chemical warfare [there are a couple silicone caulk removers out there] and additional elbow grease) is the handy random orbital sander. Sanding typically is required in any case, particularly when fiberglass repair, filling in screw holes, and fairing is required so why bother with the chemicals?
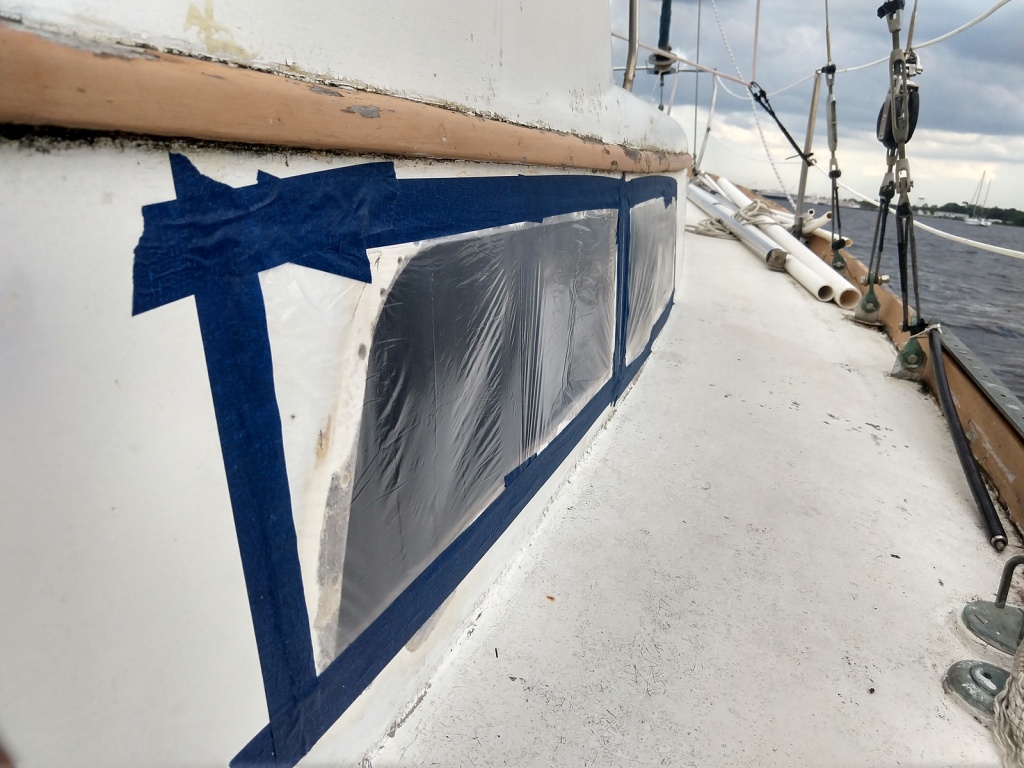
Because this isn't a done in one day project - resin for repair/fairing needs time to cure, etc. - temporary rain protection was required...
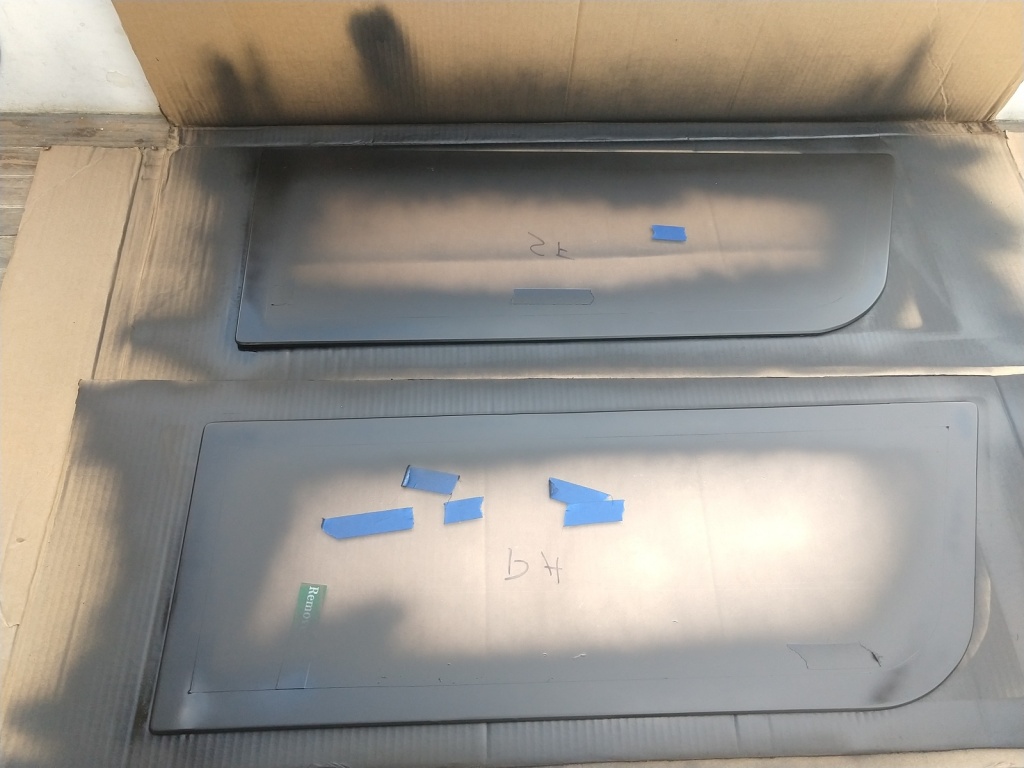
Prepping the plexi/acrylic. I cut the sheet with a jigsaw and used a router edging bit where needed. Then routed a 45 around the perimeter, ~1/8" to give the sealant extra space. Finally I sanded the edges and the border area.
I used 3M 4991 VHB which is reportedly a sufficient thickness for the Dowsil sealant. However, it is gray and the Dowsil is black. With the possibility of gapping and air bubbles showing through, painting the acrylic for a solid border assures a clean look. It also provides additional UV protection, mainly for the VHB tape - Dowsil 795 has high UV resistance. Krylon Fusion seems to be a common recommendation for this purpose. I used Rustoleum 2X as that was the closest equivalent on the shelf at the local ACE.
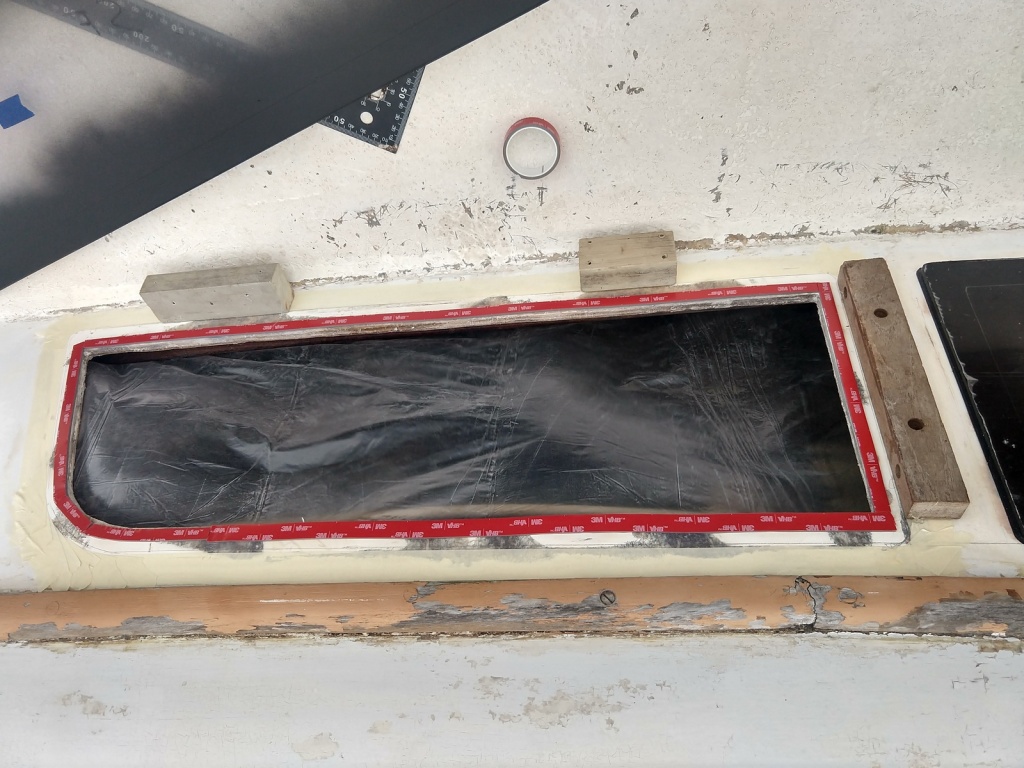
Blocks hot glued as alignment guides. There's no repositioning - once the pane touches the VHB - game over - it's not moving.
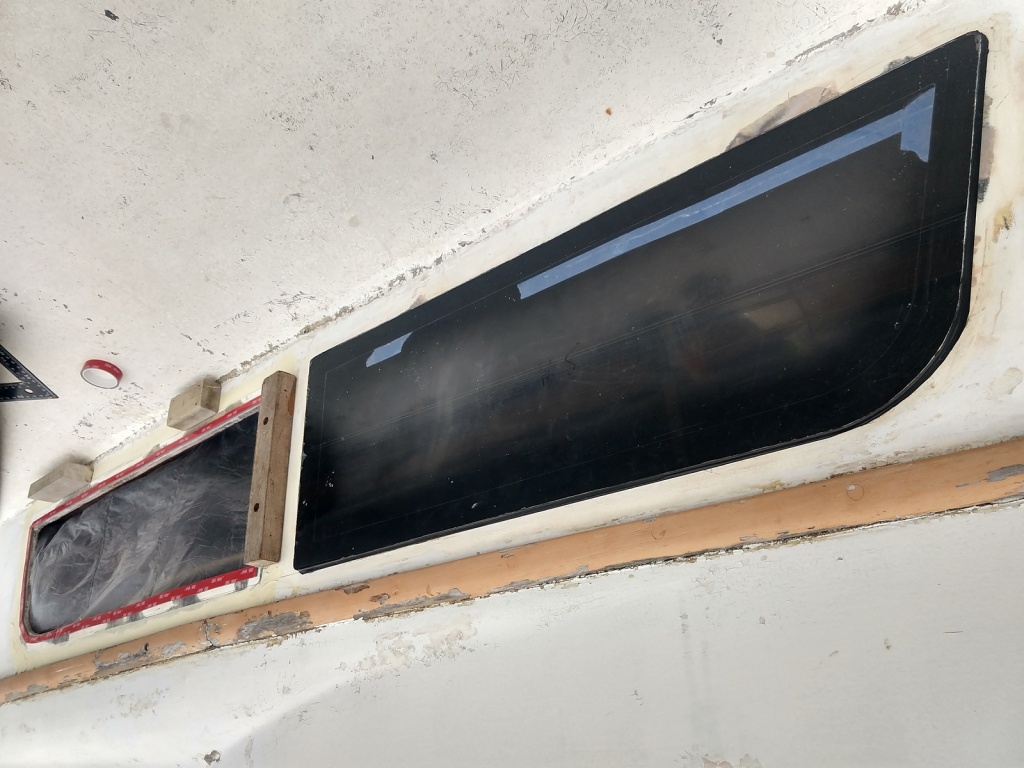
One pane set and sealed, the other ready to go...
The blue tape was to make sure paint didn't get through some questionable spots in the protective film.
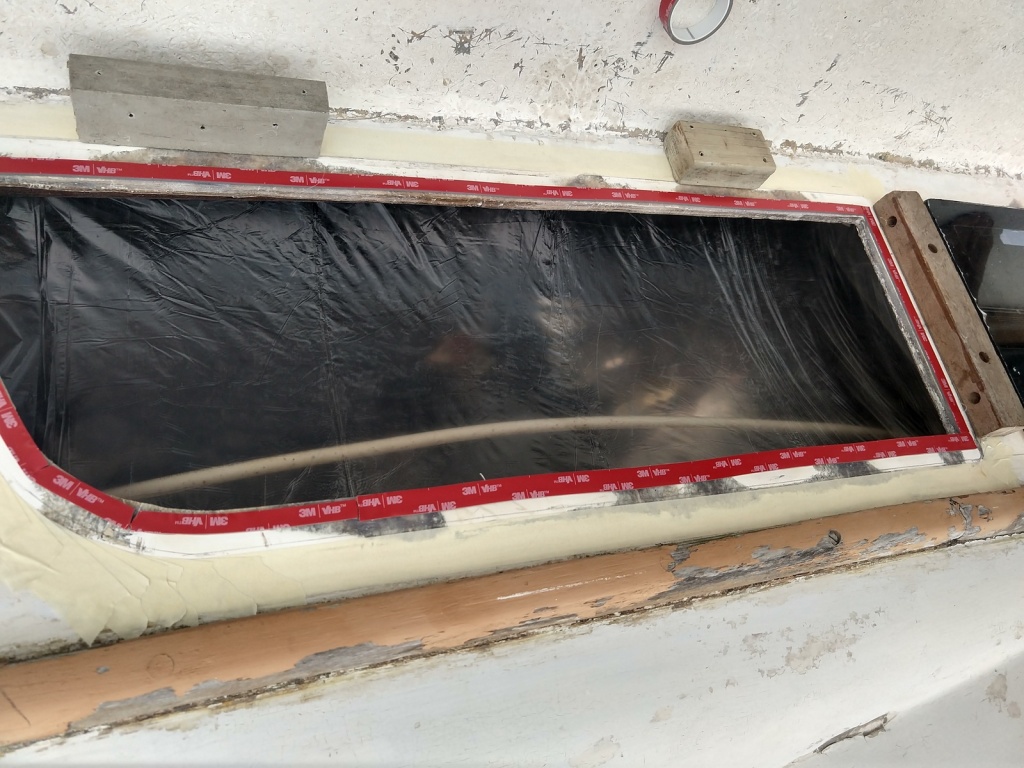
Here you can see the masking tape which will make for a clean edge of Dowsil. I've applied miles worth of caulk on trim, etc. freehand. Rarely, if ever, have I used masking tape even when tooling a finish was necessary. This is one application I wouldn't attempt without it. Trying to fix a mistake here is guaranteed to create more of a mess.
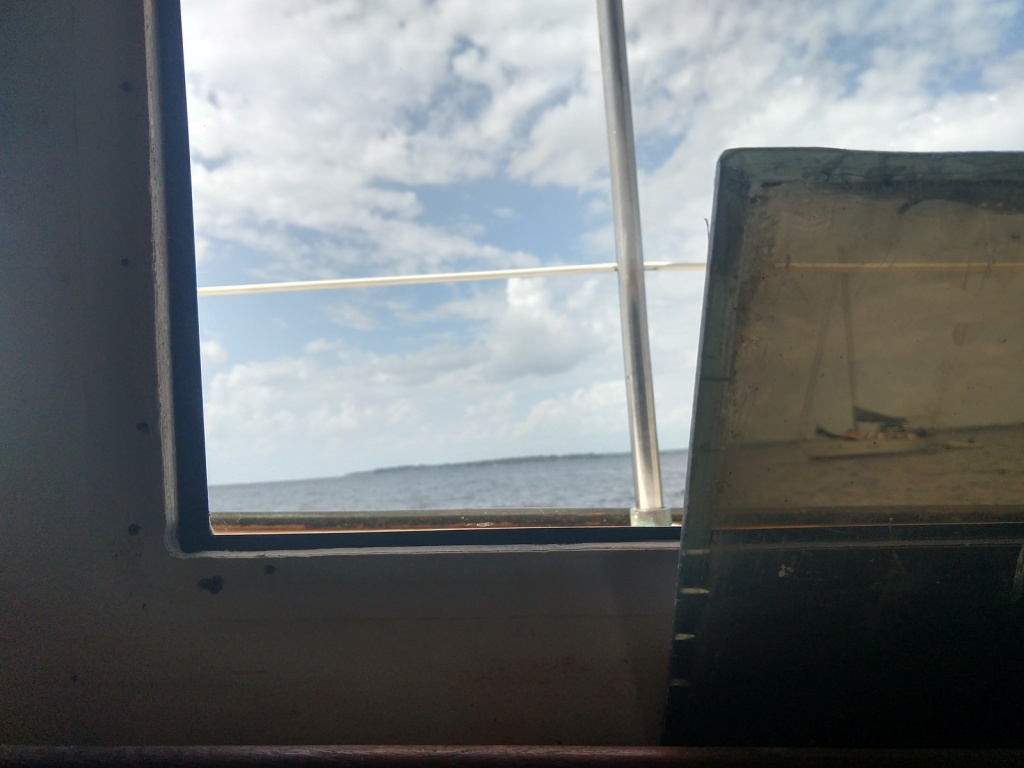
Comparison looking out through the new vs the old...
After removing the protective film it looked like there wasn't anything there. The new acrylic is clear, no tint.
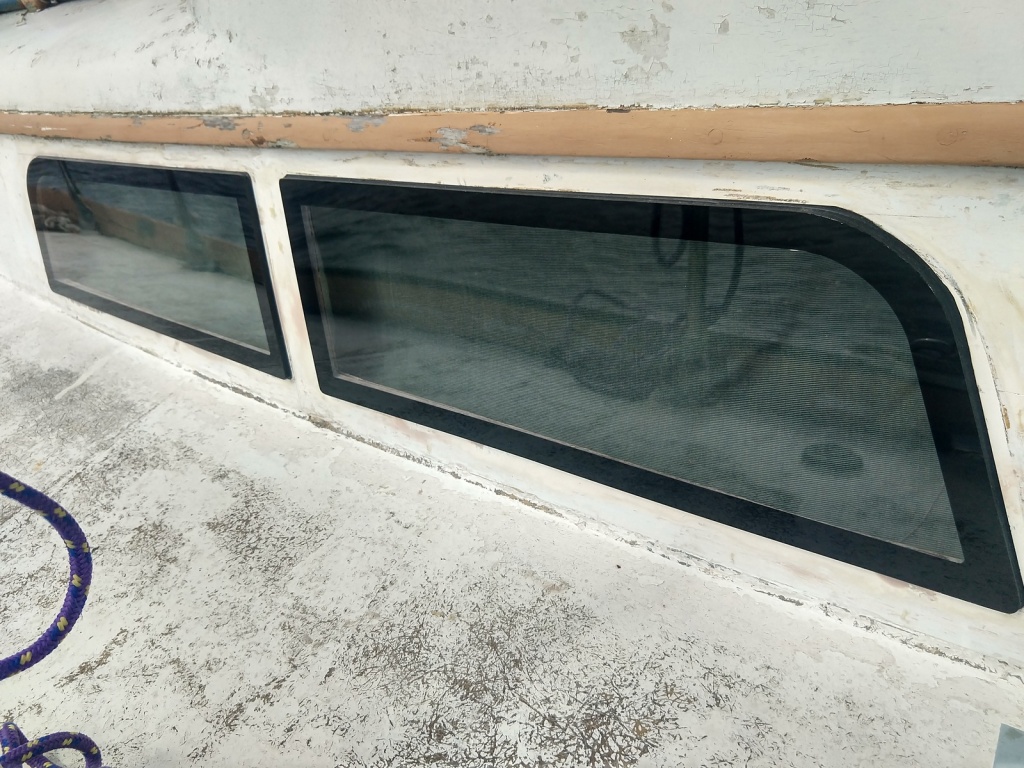
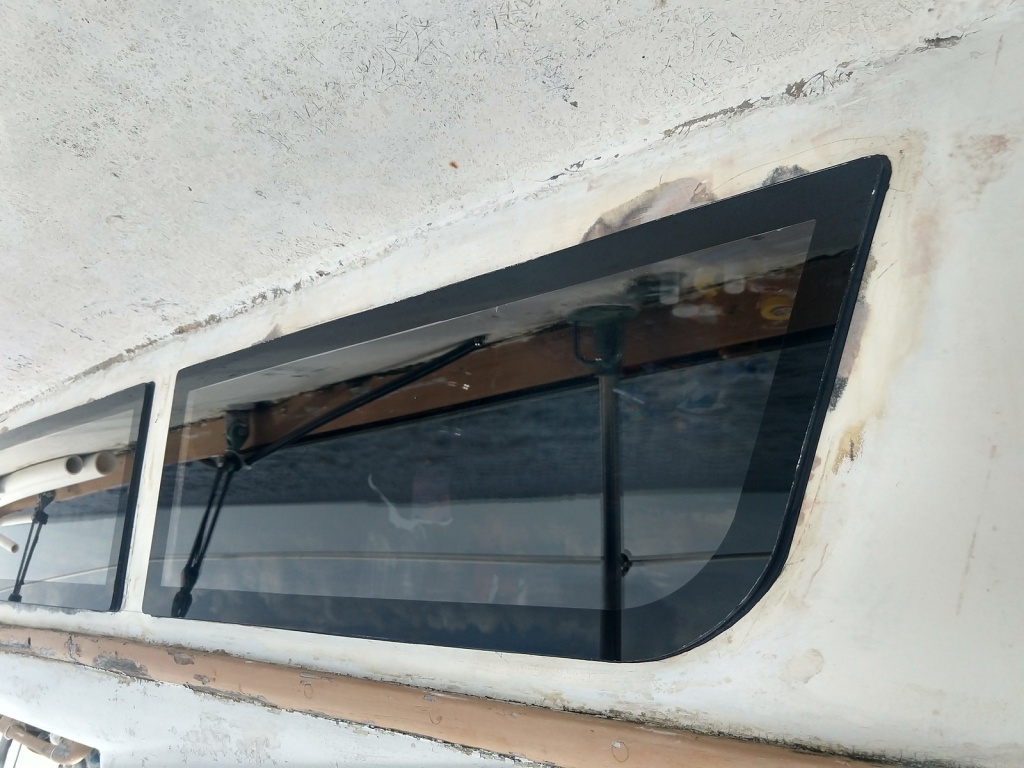
My tooling method here was plastic drop cloth/plastic grocery bag wrapped around my finger. Getting that stuff off your skin is a bit much to use the old wet finger trick, and you don't really want to contaminate the sealant with skin oils.
The masking wasn't quite perfect at a couple of the curves, but should be able to clean it up when it's time to paint. As you can see a paintjob on the deck and cabintop is overdue. I'll give nature a little more time to work on the areas where there is excessive chipping of old paint before I start burning through sandpaper.
Still have 4 of the 6 oval deadlights (6"x12") yet to replace.